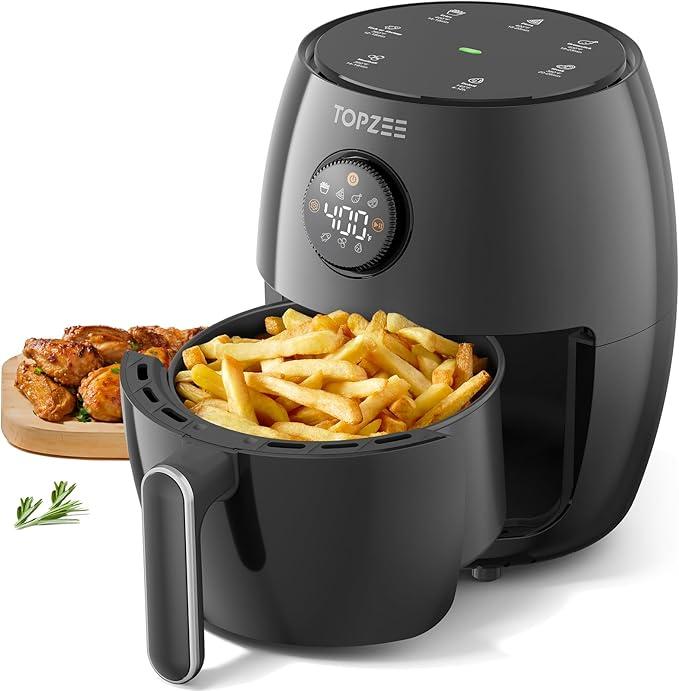
First things first, unpack your air fryer and read through the manual. It sounds boring, but the manual has some great tips on how to use your specific model. You'll want to familiarize yourself with the different parts, like the basket and the drip tray. These are key players in making sure your food comes out crispy and delicious.
Once you know your air fryer inside and out, it's time to give it a little pre-seasoning! Give it a wash with warm, soapy water to remove any dust or residues from manufacturing. After you dry it, you can do a test run by warming it up for a few minutes at a higher temperature. This will help get rid of any funky smells and have it ready for your favorite recipes.
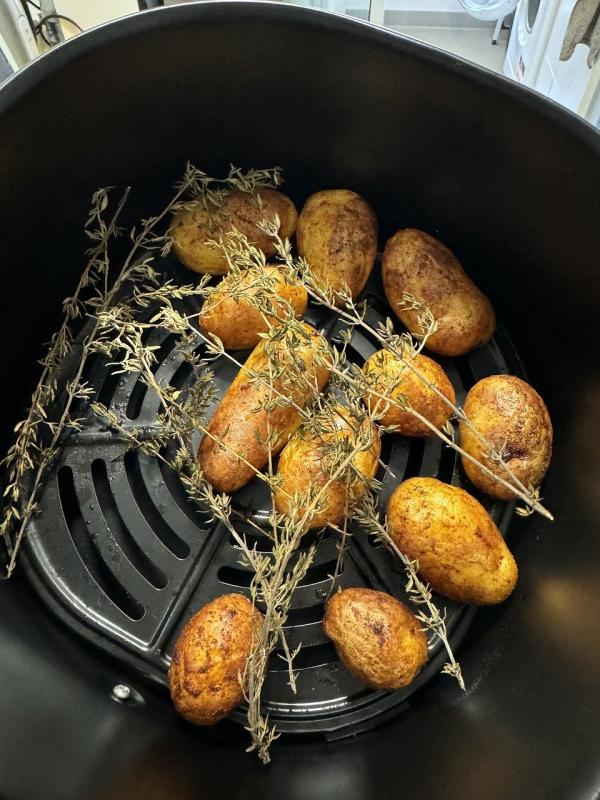
Now, let’s talk about cooking. You can make so many options; from crispy fries to juicy chicken wings, the possibilities are endless! Start with simple foods to get the hang of it. Don’t forget to shake the basket or flip your food halfway through cooking to ensure even crispiness!
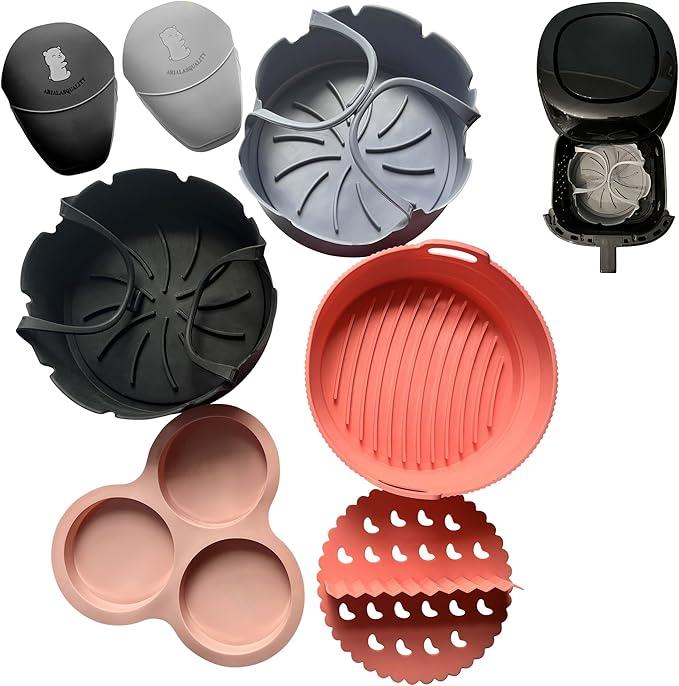
Gathering Your Cleaning Supplies
Cleaning your air fryer doesn’t have to be a chore! Before you dive in, it’s a good idea to gather all your cleaning supplies. This way, you won’t have to hunt for tools or cleaners while you’re deep into your cleaning session.
Here’s what you’ll typically need:
Don’t forget about the air fryer basket and tray! If they're removable, they might be dishwasher-safe. Always check the manufacturer’s instructions to be sure. Having everything ready will make the cleaning process faster and easier.
Step by Step Cleaning Process
Cleaning your air fryer doesn’t have to be a hassle! Follow this simple step-by-step process to keep it spick and span.
1. Unplug and Cool Down: Start by unplugging the air fryer. Let it cool completely before you dive into cleaning. Safety first!
2. Take It Apart: Remove the basket and any accessories. Most models allow you to take these parts off easily. This gives you better access for cleaning.
3. Soak the Basket: Fill your sink or a large bowl with warm water and a few drops of dish soap. Let the basket soak for about 15-20 minutes. This helps loosen any stuck food bits.
4. Wipe Down the Interior: Grab a damp cloth or sponge and wipe the inside of the air fryer. If you see any stubborn residue, a little baking soda can work wonders. Just mix it with some water to make a paste and gently scrub.
5. Rinse and Dry: After soaking, rinse the basket under running water. Make sure it’s clean and free from soap residue. Towel dry or let air dry completely before reassembling.
Now, you’re all set! Cleaning your air fryer regularly not only keeps it looking fresh, but it also helps your meals taste better. Happy frying!
Tips for Maintaining Your Air Fryer
Maintaining your air fryer is as important as using it. A little care goes a long way in ensuring that your appliance lasts longer and continues to perform well. Here are some simple tips to keep your air fryer in top shape.
First, always remember to clean it after each use. A quick wipe with a damp cloth or sponge can remove any food residue and grease. For the basket and tray, soak them in warm, soapy water for about 15-20 minutes before giving them a gentle scrub. This helps tackle stubborn spots without scratching the non-stick surface.
Watch out for buildup! If you notice any grease or food particles clinging to the heating element, turn off the fryer and let it cool down before gently wiping it with a soft cloth. Regularly checking this area ensures efficient heating the next time you cook.
Don’t forget to keep the exterior clean too! A simple wipe down with a damp cloth can keep your air fryer looking brand new. Avoid using harsh chemicals that could damage the finish; a bit of baking soda mixed with water can help with tough stains naturally.
Lastly, store your air fryer properly. If it has a cord, make sure it’s wrapped up nicely to avoid any damage. Place it in a cool, dry area, and try to avoid stacking other items on top. This way, your air fryer is ready to go whenever you are!